We’ll stay at the lovely Blomberg. The final stage of the search for the digital twin takes us to the heart of Phoenix Contact. The company’s own tool shop is one of the flagships of the company. And this is where we actually find it – the first digital twin of our hunt!
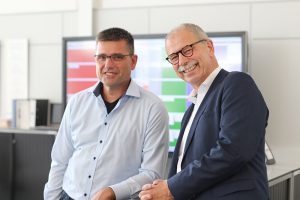
One of the entrepreneurial strengths of Phoenix Contact has always been its vertical range of manufacturing, which also includes the in-house manufacturing of machines and tools for production.
The first stop starts in the office of Dr. Sven Holsten, Head of Toolmaking. And then we go straight back out the door with him, where an impressive touch screen is installed. “Here we see the real digital twin in its application,” explains the doctoral graduate mechanical engineer. “All of the datasets for our tools, in other words, the master data, costs, dates, activities, images, and time windows, can be retrieved and viewed here. From anywhere in the world, and in real time.” The injection mold tools are tracked using RFID technology. “A total of 1,400 tools are currently in use at our production sites in Germany and Poland.”
When we move into production, the application becomes clear: “In order to make handling our tools faster, we use augmented reality in toolmaking,” explains Stefan Flachmann, who is responsible for manufacturing the special tools. “Using smartglasses allows the machine operator to set up tools independently when a refit is necessary. By displaying information about the real image, the employee is guided in such a way that they always carry out the optimal next work step.”

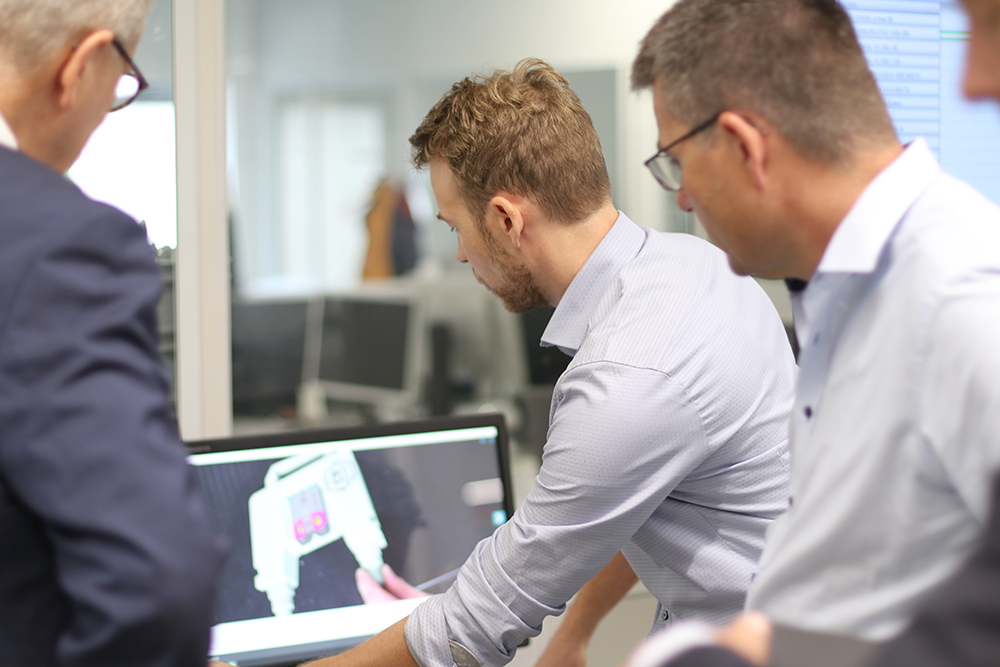
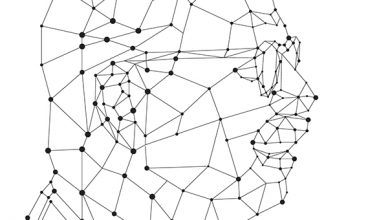
3D model on the computer 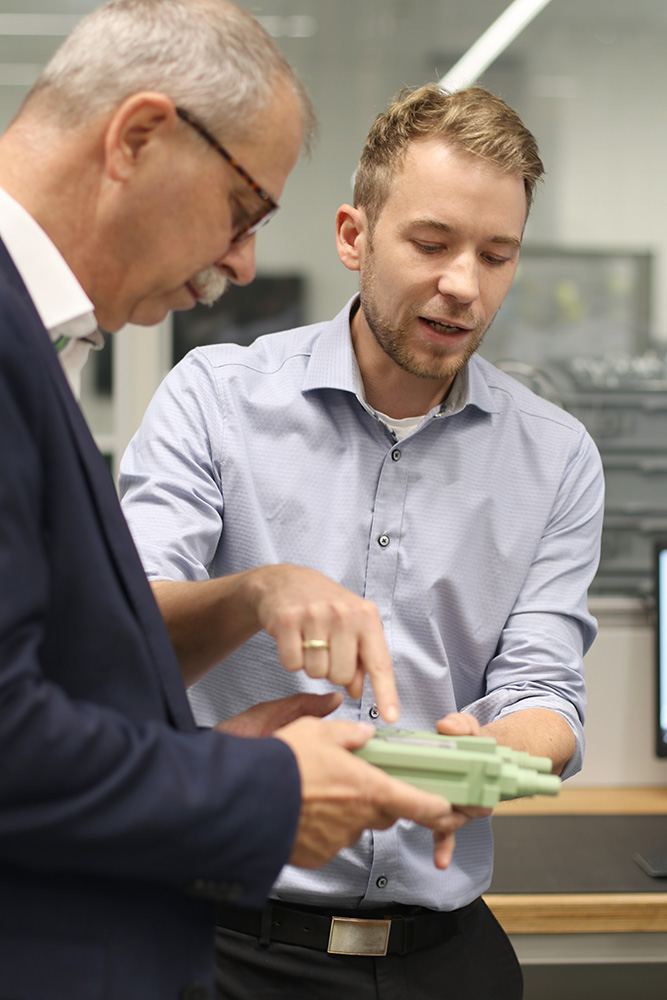
… and printed out.
The pure assembly work is not the only advantage of this use of the digital image. “By superimposing the digital twin, we can perform an optimized quality control inspection immediately. When changes are made, the system is always up to date, without the need to reprint manuals and then distribute them again. This helps to avoid mistakes that would otherwise occur from time to time due to the different levels of knowledge the respective colleagues have.”
How do you like your twin?
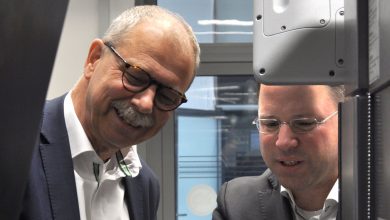
A few steps down the line, we are met by Henrik Urhahn. He is responsible for the measuring technology in the in-house tool shop. And he produces a digital twin with polystyrene blocks and computer tomography. This unusual combination is quickly explained. “We position our real tools with the help of polystyrene, because it is invisible when scanned by the X-ray machine.” When the component to be measured is inserted into the tomography machine, around 1,500 images are taken from all angles. “This will give us a 360-degree view in about an hour and a half. This used to involve laborious individual work with calipers, and it took days.”
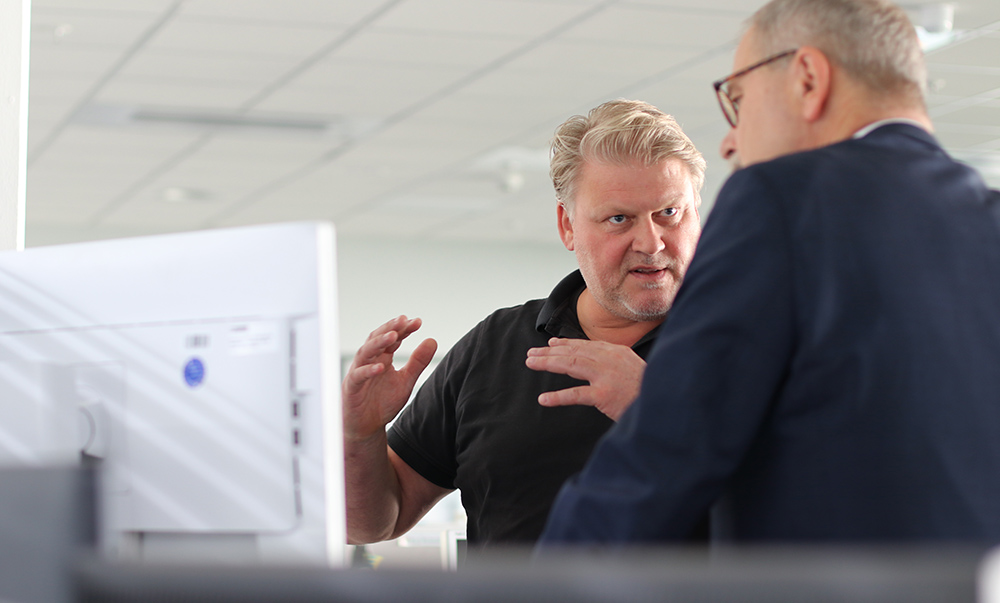
Henrik Urhahn 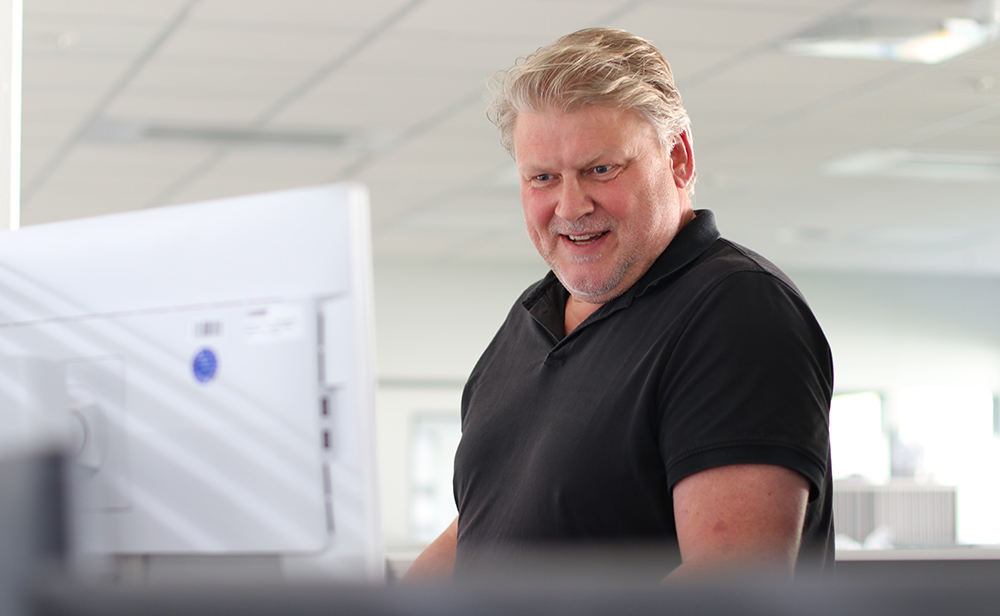
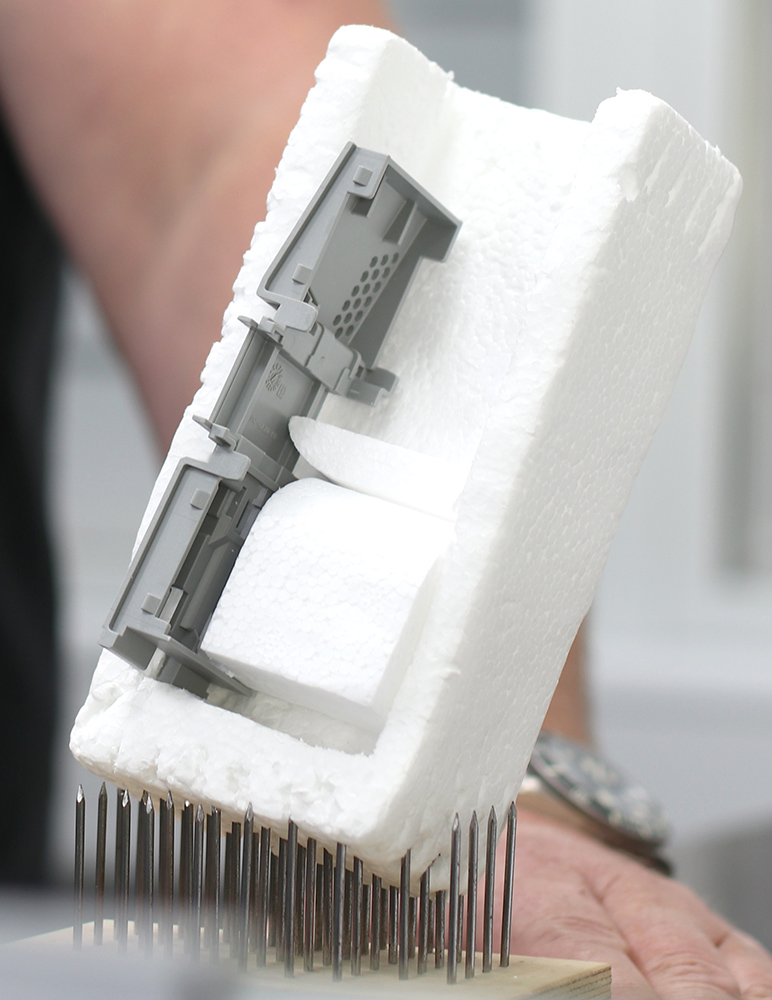
Special software requires around 20 processor-intensive minutes to generate a digital image of the real tool. “This will then be compared to the already-existing original digital twin. This means that we can see immediately if tools don’t meet our quality requirements.”
Which would actually mean that we have a digital triplet, because in addition to the real workpiece and the digital twin, a third image is now generated, which is examined purely digitally for deviations.
We feed it
We train it
We control with it
We print with it
We’ve got it!
